Once you have installed Nexi Panel on your server, the next step is to create a website. This can be done easily through the Nexi Panel interface.
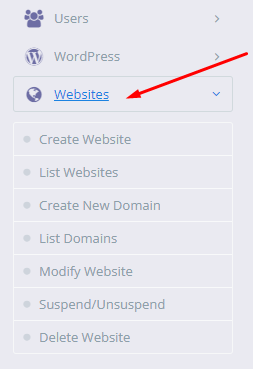
To create a website, log in to your Nexi Panel dashboard. Navigate to the left-hand menu and select the “Website” option. Here, you will find numerous options for managing your website.
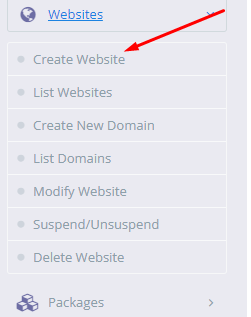
If you want to create the website, click on “Create Website.”
When you click on the Create Website button, it will take you to this page.
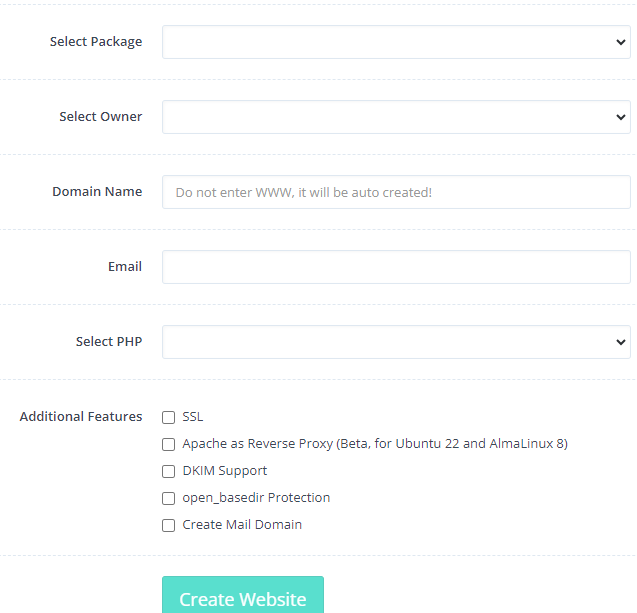
Enter the details according to the options and click on the button Create Website. Here you can see the Additional features you can tick if you want. Otherwise, when the website is created, you can access these features
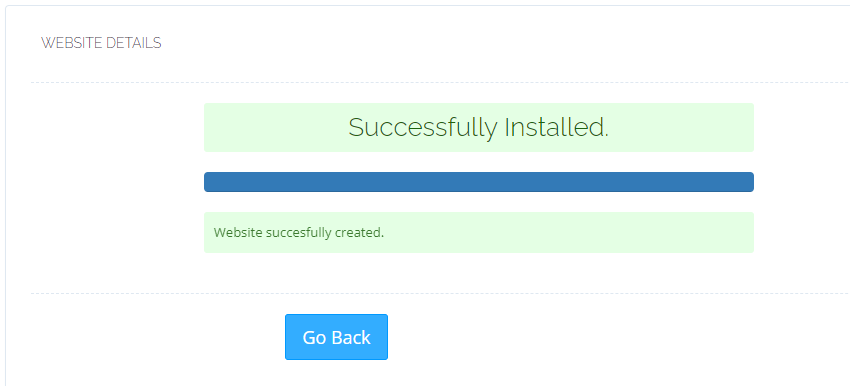
Clicking on the “Create Website” button will result in the successful creation of the website.
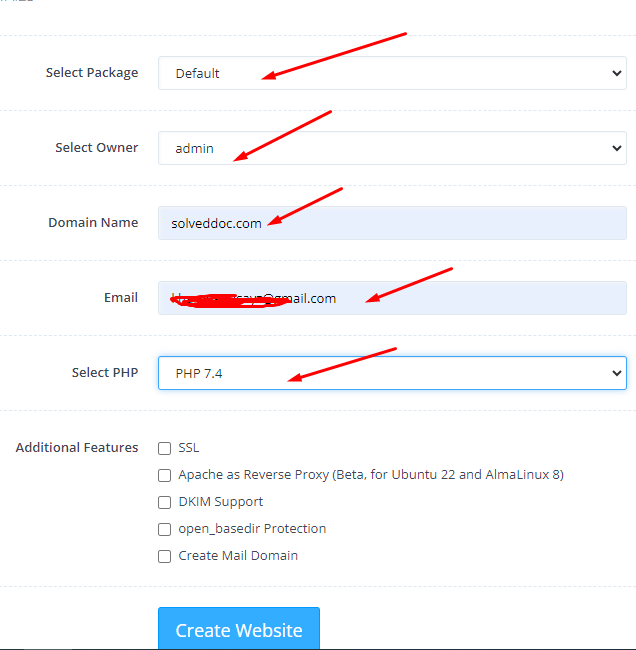
Then fill in all the fields; they are self-explanatory, but let’s see some example configurations:
- Select the package for this website. Nexi Panel comes with a default package; however, you can create your own.
-
Select Owner for this website; if the owner is other than admin, then this site can be managed by that selected user as well.
-
Enter your domain.
-
Enter email.
-
Select the PHP version., You can also change this later.
- If SSL is checked, Nexi Panel will try to obtain Let’s Encrypt SSL I If it fails, a self-signed SSL will be issued h which can also be changed later. (Nexi Panel will fail to obtain SSL if the domain is not yet pointed to the server.)
Finally, press Create Website And a website will be created
