Note: If your domain is behind Cloudflare it will not work since CloudFlare blocks port 8090.
If you want to access Nexi Panel on SSL you can do so by issuing Lets Encrypt SSL for the hostname, before continuing further make sure you have created website with a domain you want to access Nexi Panel as.
If you want to access Nexi Panel on: https://panel.yourdomain.com:8090, create an account with a domain panel.yourdomain.com. While creating an account you can check SSL or not, it is optional.
If domain still does not point to the server, again a self-signed SSL will be issued.
Setup Hostname SSL Nexi Panel
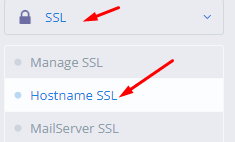
Step 1. To issue the Hostname SSL for your Nexi Panel. Go to SSL->Hostname SSL
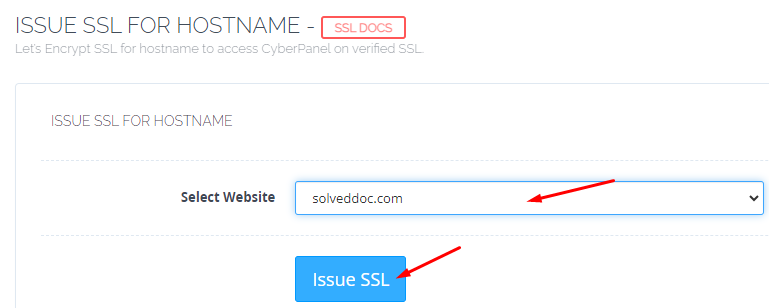
Step 3. Select the website for which you want to issue the hostname SSL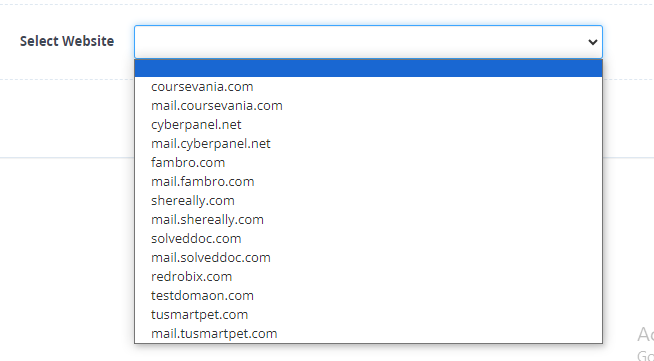
Step 4. Select the website and Click on Issue SSL