Nexi Panel can issue SSL certificates for websites. There are two methods to get an SSL certificate for the website. In this article, we will learn how to issue the SSL for your website.
Manage SSL
Step 1. Login to your Nexi Panel dashboard
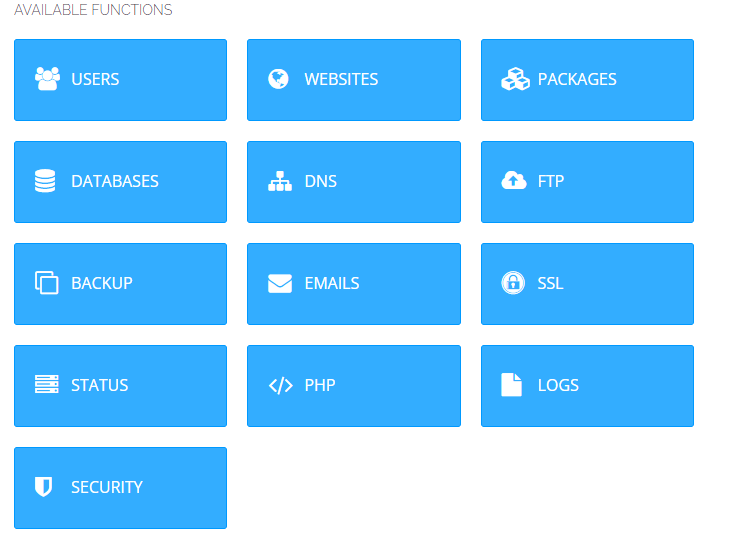
Step 2. On the left-side menu, scroll down and click on the SSL option.
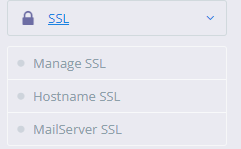
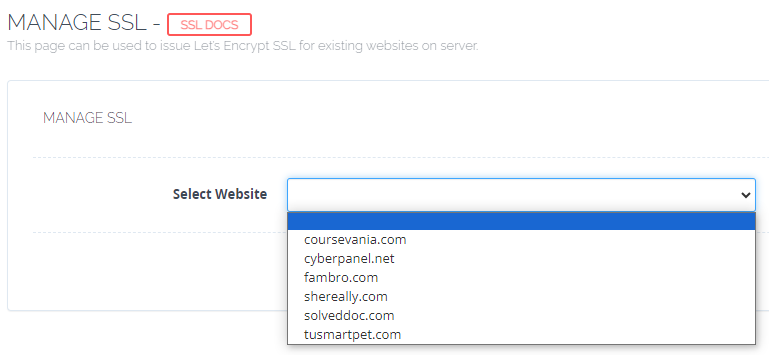
Step 3: To issue a simple SSL for your website Go to SSL-> Manage SSL
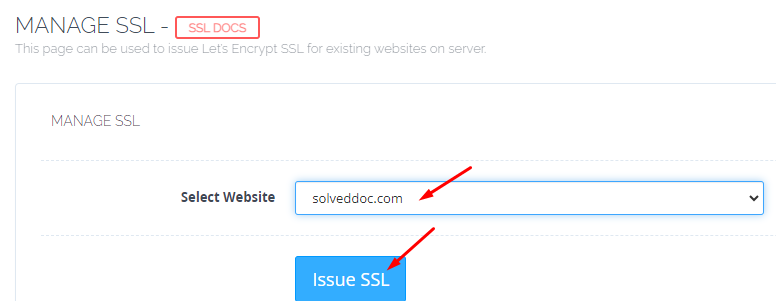
Step 4: Select the Website for which you want to issue the SSL
Step 5: After selecting the site, Click on Issue SSL
You can issue the SSL via the command line. To do this, log in to the Nexi Panel dashboard.
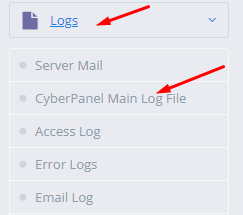
Go to Logs-> Nexi Panel Main logs file. Nexi Panel main log file will be opened
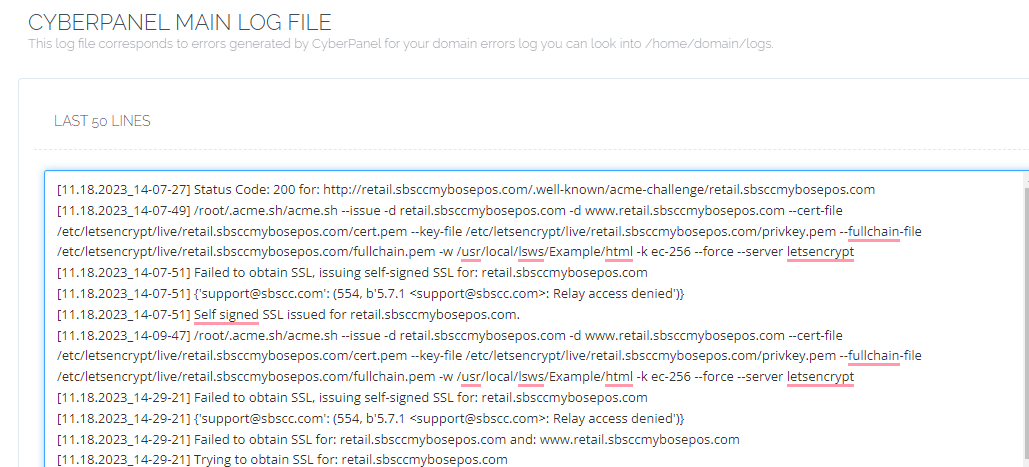
Now scroll down and copy the command for your site where you want to issue the SSL. Copy the acme command and run it to the terminal.

Hostname SSL
Step 1. Issue the hostname SSL for your website. Go to SSL->Hostname SSL
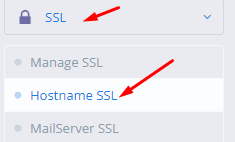
Step 3. Select the website for which you want to issue the Hostname SSL
Step 4. Select the website and Click on Issue SSL

Mail server SSL
Step 1. To issue the mail server SSL Click on SSL-> Mailserver SSL
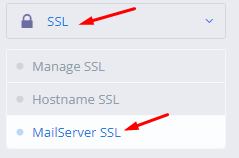
Step 2. Select the Mail server site for which you want to issue the SSL and Click on issue the SSL
Step 3. After issuing the Mailserver SSL, run this command on the terminal to map the SSL
